Have you ever craved something light, airy, and guilt-free? If so, you’re in for a treat. Cloud bread has taken the internet by storm, and for good reason. This low-carb, gluten-free snack is not only easy to make but also packed with protein, making it a favorite among keto and health-conscious foodies.
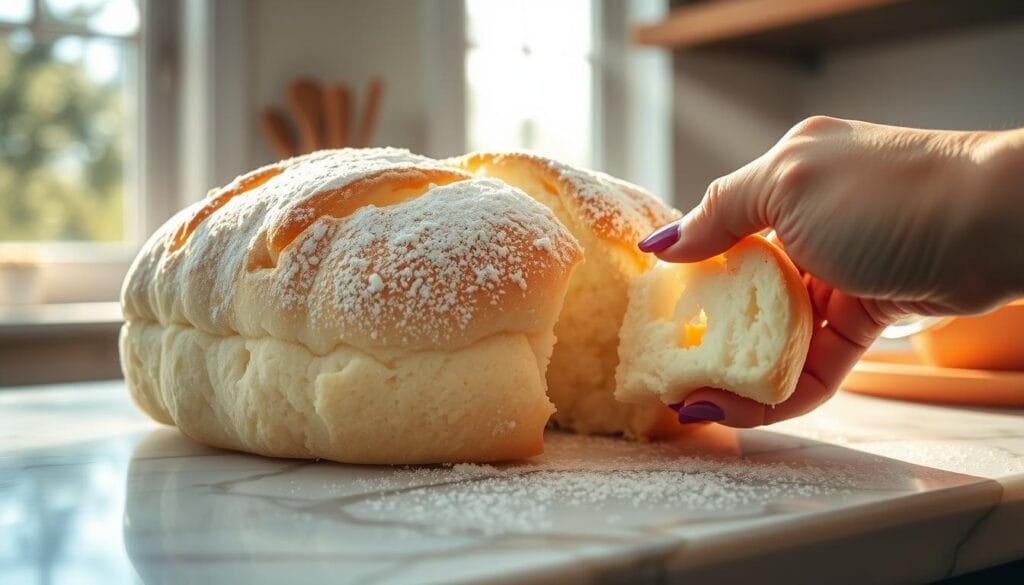
What makes this recipe stand out is its unique texture. When baked, it transforms into a soufflé-like delight that’s soft and pillowy. As it cools, it takes on a more bread-like consistency, perfect for sandwiches or as a snack on its own. With just a few simple ingredients like egg whites, cream cheese, and cream of tartar, you can whip up a batch in no time.
Whether you’re new to low-carb eating or just looking for a fun kitchen project, this recipe is worth trying. Stick around for tips on ingredient selection, preparation techniques, and troubleshooting common baking issues. And don’t forget to follow EasyKitchen.me for more delicious recipes and kitchen hacks!
Key Takeaways
- Cloud bread is a low-carb, gluten-free alternative with a unique airy texture.
- It’s made with simple ingredients like egg whites, cream cheese, and cream of tartar.
- Perfect for keto, low-carb, and gluten-free diets.
- Each batch bakes into individual slices with a soufflé-like consistency.
- Follow EasyKitchen.me for more recipes and tips.
Introduction
Looking for a snack that’s both satisfying and healthy? Look no further. This recipe has become a favorite for its simplicity and versatility. With just a few ingredients, you can create something truly special.
This treat gained popularity during the Atkins era and has recently made a comeback on platforms like TikTok. Its light, airy texture makes it a standout option for anyone on a low-carb or gluten-free diet. Plus, it’s incredibly easy to make, even for beginners.
One of the best things about this recipe is its adaptability. Whether you’re following a specific diet or just looking for a fun kitchen project, it’s a great choice. Later in this post, you’ll find detailed tips to ensure your creation turns out perfectly every time.
Here’s a quick overview of what makes this recipe so special:
| Feature | Benefit |
|---|---|
| Low-carb | Perfect for keto and Atkins diets |
| Gluten-free | Ideal for those with dietary restrictions |
| Quick prep | Ready in under 15 minutes |
| Versatile | Great for sandwiches or snacks |
Ready to get started? Follow along for step-by-step instructions and expert tips. And don’t forget to check out EasyKitchen.me for more delicious recipes and kitchen hacks!
Ingredients Overview
Ready to discover the secret behind this light and airy treat? The magic lies in the ingredients. Each one plays a crucial role in creating the perfect fluffy texture and flavor. Here’s what you’ll need:
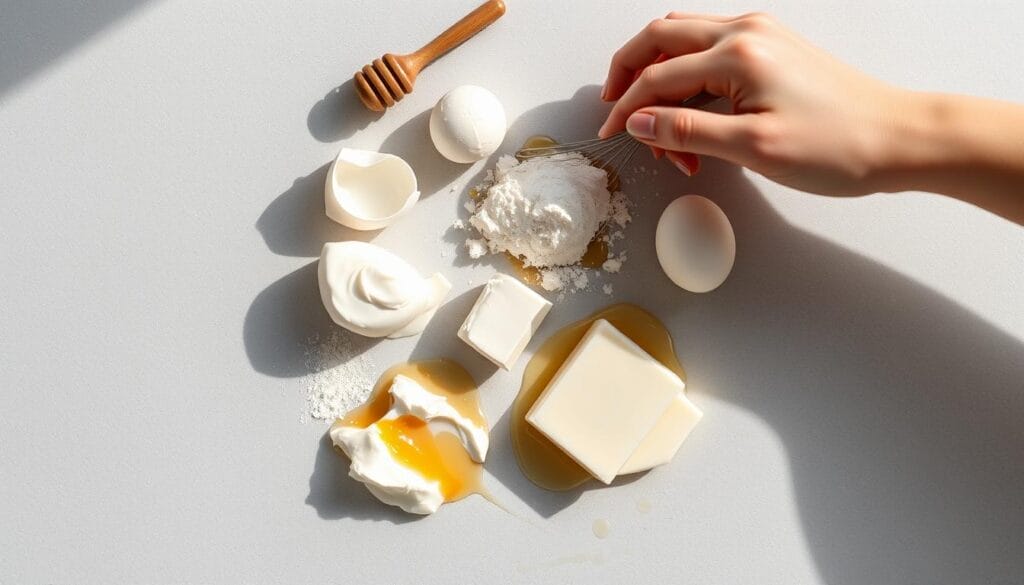
Egg Whites: The star of the show. Separated from the yolks, they create a meringue-like base. Even a tiny bit of yolk can ruin the fluffy structure, so handle them carefully.
Low-Fat Cream Cheese: Adds a light tang and helps bind the mixture. It keeps the recipe healthy while enhancing the flavor.
Cream of Tartar: A stabilizer that ensures your egg whites reach stiff peaks. This is key for that airy texture.
Seasonings: A pinch of sea salt, garlic powder, or Italian seasoning can elevate the flavor. Use fresh ingredients for the best results.
Here’s a quick breakdown of the measurements and tools you’ll need:
| Ingredient | Measurement | Role |
|---|---|---|
| Egg Whites | 3 large eggs | Creates the meringue base |
| Low-Fat Cream Cheese | 2 ounces | Binds and adds flavor |
| Cream of Tartar | ¾ teaspoon | Stabilizes egg whites |
| Sea Salt | ½ teaspoon | Enhances flavor |
| Garlic Powder (optional) | 1 teaspoon | Adds a savory touch |
For the best results, use a clean bowl, a mixer, and parchment paper on your baking sheet. Fresh ingredients and precise measurements make all the difference. Follow us on social media for more tips and tricks to perfect your recipe!
Recipe Preparation & Key Techniques
Ever wondered how to achieve the perfect fluffy texture in your baking? Mastering the techniques for cloud bread is easier than you think. Follow these steps to ensure your creation turns out light, airy, and delicious every time.
Start by preheating your oven to 300°F. This ensures even baking and helps maintain the delicate structure. Line your baking sheet with parchment paper to prevent sticking and make cleanup a breeze.
Next, separate your egg whites from the yolks carefully. Even a tiny bit of yolk can prevent the whites from whipping properly. Use a clean, dry bowl and mixer to avoid contamination from any fat.
Add cream of tartar to the egg whites and whip until stiff peaks form. This step is crucial for that airy texture. Be careful not to overwhip, as it can make the mixture grainy.
In a separate bowl, beat the yolks with softened cream cheese until smooth. This adds richness and helps bind the mixture. Gently fold the meringue into the yolk mixture to preserve the airiness.
Here’s a quick guide to the key steps:
| Step | Key Detail |
|---|---|
| Preheat Oven | 300°F for even baking |
| Separate Eggs | Ensure no yolk in whites |
| Whip Egg Whites | Add cream of tartar, whip to stiff peaks |
| Mix Yolks | Beat with cream cheese until smooth |
| Fold Mixtures | Gently combine to maintain airiness |
These techniques are backed by expert sources and will lead you to a successful, fluffy outcome. For more tips and recipes, follow EasyKitchen.me!
Cloud Bread: Step-by-Step Process
Ready to transform simple ingredients into a fluffy masterpiece? Follow this step-by-step guide to create your own cloud bread at home. With just a few key steps, you’ll achieve a golden, airy treat that’s perfect for any meal.
Start by preheating your oven to 300°F. Line a baking sheet with parchment paper to prevent sticking. This ensures your bread bakes evenly and retains its delicate texture.
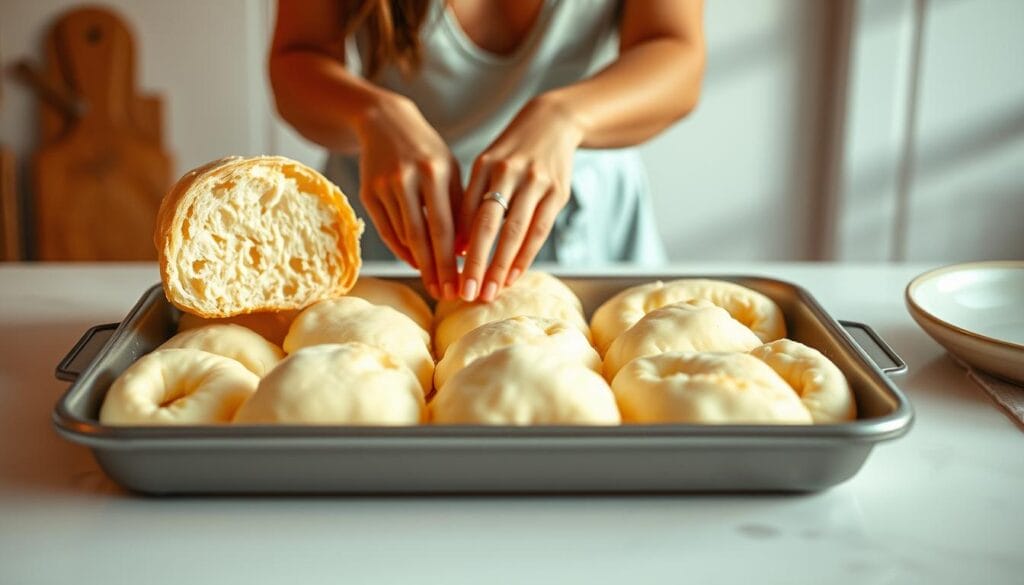
Next, spoon ¼ cup portions of the batter onto the prepared sheet. Use the back of a spoon to spread each portion into a 4-inch circle. This ensures even thickness for uniform baking. Place the sheet in the oven and bake for 15-18 minutes in convection mode or up to 30 minutes traditionally.
Keep an eye on the bread as it bakes. It’s ready when the exterior turns golden and the center no longer jiggles upon a gentle shake. Carefully transfer the bread to a wire rack to cool slightly. This step helps preserve its airy structure.
Here’s a quick summary of the process:
- Preheat oven to 300°F and prepare the baking sheet.
- Portion the batter into ¼ cup rounds and spread evenly.
- Bake until golden and set, checking for doneness.
- Cool on a wire rack to maintain texture.
Following these steps will help you consistently recreate the perfect cloud bread at home. For more tips and delicious recipes, follow EasyKitchen.me on social media!
Serving Suggestions & Creative Variations
Ready to take your snacks to the next level? This low-carb treat is incredibly versatile, making it perfect for a variety of meals and occasions. Its airy texture and neutral flavor allow it to pair well with both savory and sweet toppings.

For a quick lunch, use it as a base for sandwiches. Layer it with turkey, avocado, and spinach for a healthy, satisfying meal. You can also toast it lightly and spread with butter or honey for a slightly sweet option.
Want something more creative? Turn it into mini pizzas by adding tomato sauce, mozzarella, and your favorite toppings. Its light nature makes it an excellent accompaniment to hearty soups or salads, adding flavor without overwhelming the dish.
Experiment with herbs and spices to create a gourmet snack. Sprinkle with garlic powder, rosemary, or grated Parmesan for a savory twist. For a sweet variation, try adding cinnamon or a drizzle of honey.
This recipe is a blank canvas for your culinary creativity. Whether you’re making sandwiches, pizzas, or simply enjoying it on its own, it’s a delicious way to stay on track with your dietary goals. For more inspiration, check out this guide on creative serving ideas.
Don’t forget to follow EasyKitchen.me on social media for more tips and recipes to make your meals even more exciting!
Storing, Reheating & Customization Tips
Want to keep your snacks fresh and flavorful for days? Proper storage and reheating can make all the difference. Here’s how to maintain that airy texture and enjoy your creations long after baking.
For storage, wrap individual slices in parchment paper and place them in an airtight container. This keeps them fresh in the refrigerator for up to 3 days. If you’d like to keep them longer, freeze them for 1-2 months. Just thaw at room temperature before reheating.
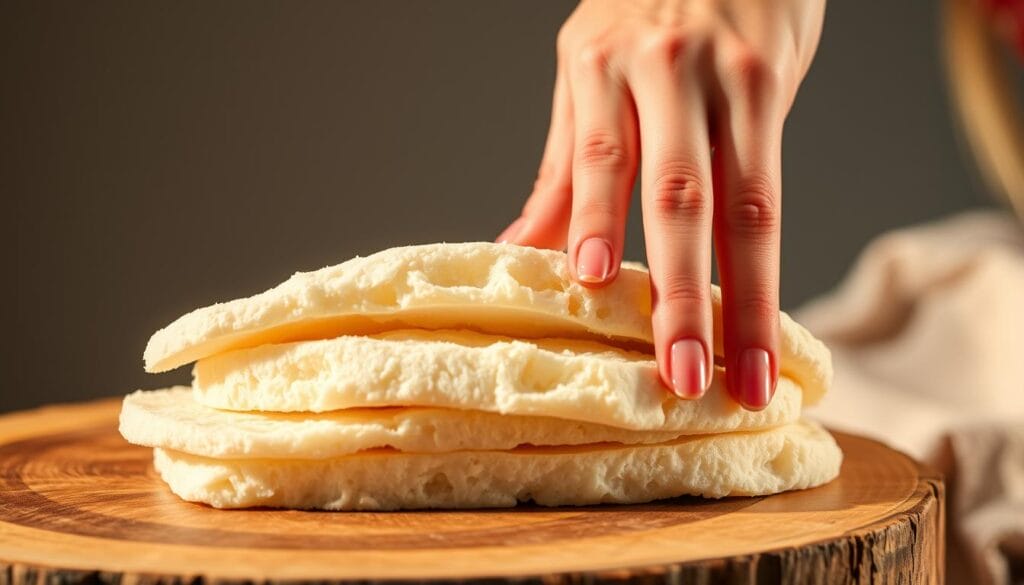
When it’s time to reheat, avoid the microwave for too long—it can dry out your snack. Instead, use an oven or air fryer at 300°F for 3-5 minutes. This gentle warming brings back much of the original softness and flavor.
Customization is another fun way to enjoy this treat. Add herbs like rosemary or spices like garlic powder to the batter for a savory twist. For a sweet variation, try cinnamon or a drizzle of honey. The possibilities are endless!
Remember, slight texture changes over time are natural. But with proper storage and reheating, you can keep your snacks delicious and enjoyable. For more tips and creative ideas, follow EasyKitchen.me on social media!
Troubleshooting Common Issues
Struggling to get that perfect fluffy result? Don’t worry—common issues are easy to fix with the right tips. Whether your egg whites aren’t whipping or the texture feels off, we’ve got you covered.
One frequent problem is fat contamination. Even a tiny bit of yolk can prevent your egg whites from forming stiff peaks. Always use a clean, dry bowl and mixer to avoid this. Fresh ingredients, like cream of tartar, also play a big role in stabilizing your meringue.
If your mixture turns grainy, you might be overwhipping. Stop as soon as you see stiff peaks. A gentle folding technique is key to maintaining the airy texture. For underbaked centers, check your oven temperature. An oven thermometer can help ensure accuracy.
Here are some quick fixes for common problems:
- Re-bake slightly if the center is undercooked.
- Verify your mixer or whisk is clean and fat-free.
- Experiment with timing and temperature based on your oven’s quirks.
Remember, these issues have simple solutions. Follow the detailed instructions, and you’ll achieve a perfect result. For more troubleshooting tips, connect with EasyKitchen.me on social media!
Conclusion
Wrapping up, this low-carb, gluten-free treat is a game-changer for anyone seeking a healthier snack option. Its unique texture and simple preparation make it a versatile choice for any meal. By focusing on quality ingredients and precise techniques, you can achieve a perfectly airy result every time.
Feel free to experiment with creative variations, adding herbs, spices, or even sweet toppings to suit your taste. Sharing your creations with the EasyKitchen.me community can inspire others to try this delightful recipe.
Thank you for joining us on this culinary journey. For more innovative recipes and kitchen tips, follow EasyKitchen.me on social media. Happy cooking!
FAQ
What is the main ingredient in this recipe?
The star of this recipe is egg whites, which are whipped to create a light and airy texture. You’ll also need cream of tartar to stabilize the mixture.
Can I skip the cream of tartar?
Cream of tartar helps the egg whites reach stiff peaks, but if you don’t have it, you can use a small amount of lemon juice or white vinegar as a substitute.
How long does it take to bake?
It takes about 25-30 minutes in a preheated oven at 300°F. Keep an eye on it to ensure it turns golden without burning.
Can I add flavor to this recipe?
Absolutely! You can mix in shredded cheese, herbs, or even a pinch of garlic powder before baking for a savory twist.
Why is my mixture not forming stiff peaks?
Make sure your bowl and whisk are completely clean and free of grease. Any residue can prevent the egg whites from whipping properly.
How do I store leftovers?
Store them in an airtight container at room temperature for up to 2 days or in the fridge for up to a week. Reheat in the oven for the best texture.
Can I use a hand mixer instead of a stand mixer?
Yes, a hand mixer works just as well. Just make sure to whisk the egg whites until they form stiff peaks for the perfect airy consistency.
Is this recipe gluten-free?
Yes, it’s naturally gluten-free since it doesn’t use any flour. It’s a great option for those avoiding gluten.
Can I freeze it?
Yes, you can freeze it for up to a month. Thaw at room temperature or reheat in the oven to restore its fluffy texture.
What’s the best way to serve it?
It’s versatile! Use it as a low-carb sandwich wrap, a base for spreads, or even as a sweet treat with a drizzle of honey.

